Shopping Cart
There are no more items in your cart

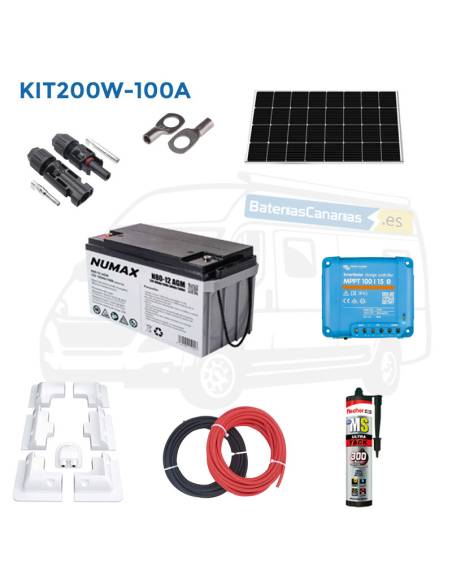
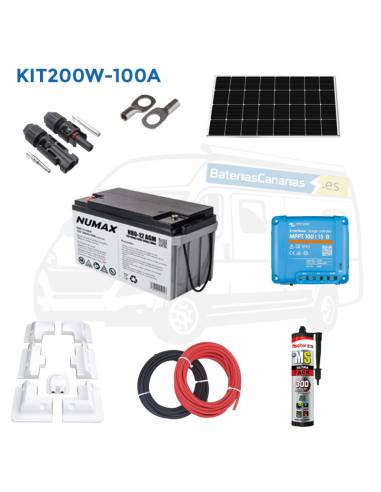
200W 12V Solar Kit for Camper with AGM Solar Battery – 1000Wh/day
200W 12V Solar Kit with AGM Solar Battery – Autonomous Energy for your Camper
This 200W 12V photovoltaic kit with an AGM Solar battery is the ideal solution for providing extra power in your camper van. Its compact design allows the battery to be easily installed under the seat, optimizing interior space.
Thanks to its 12V system, connected to the regulator output, you will have an efficient and reliable power source. It also includes Bluetooth connectivity, allowing you to control and monitor performance from your mobile device.
Clean energy and unlimited autonomy on your trips! 🚐☀️
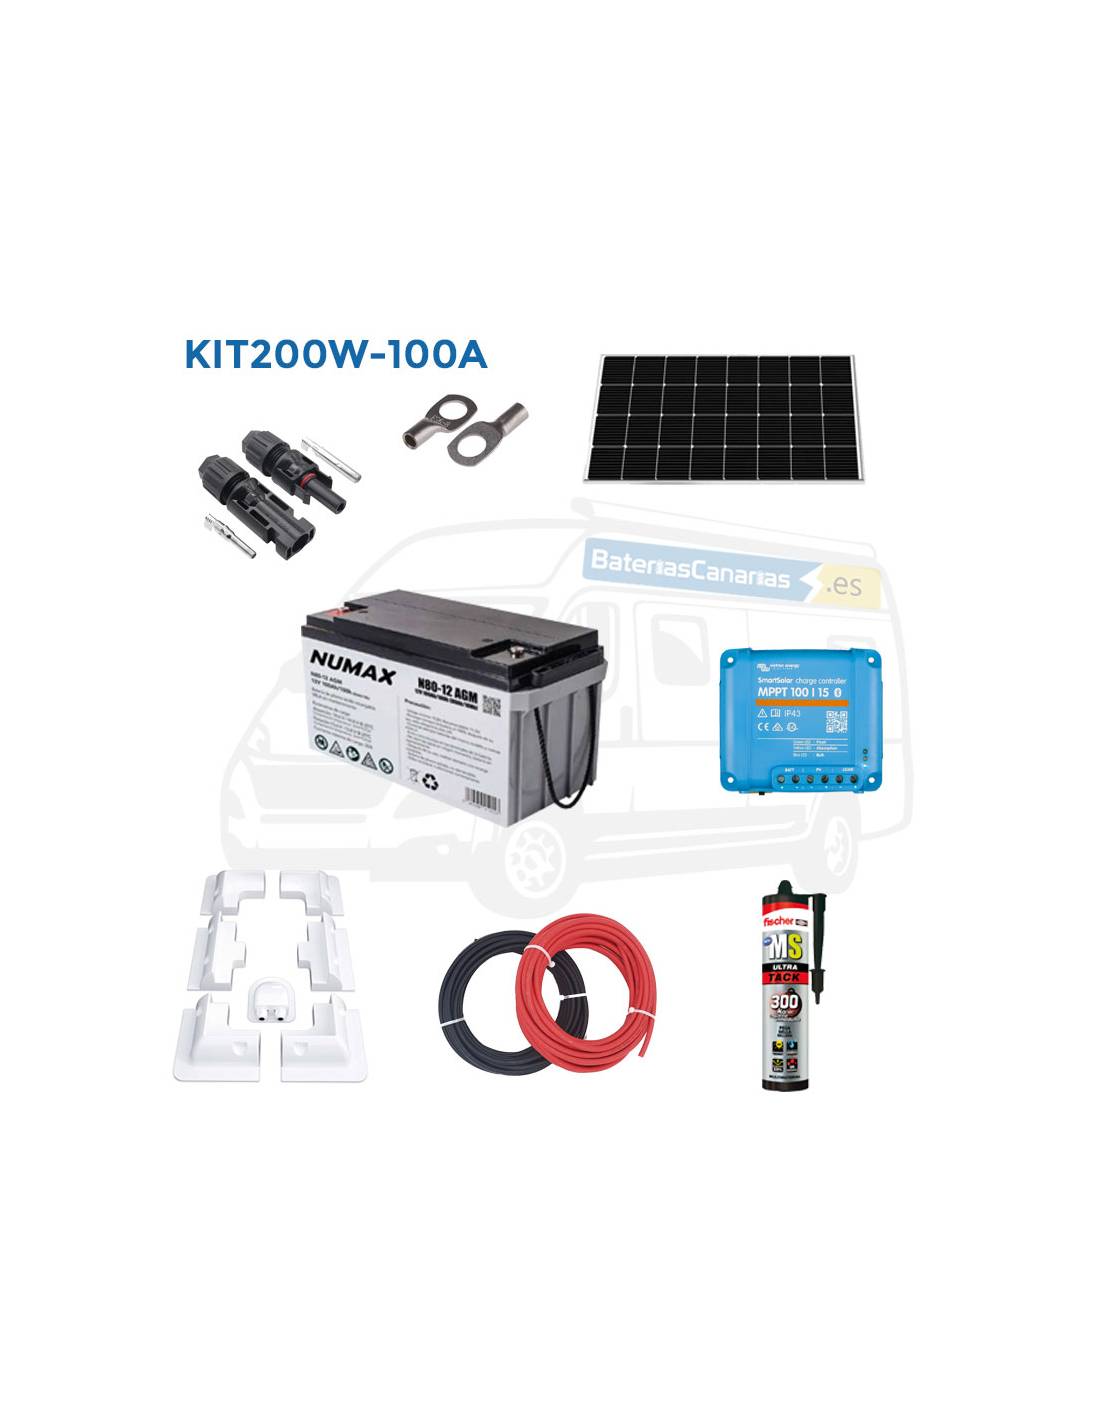
Components of the 200W 12V Solar Kit for Campers with AGM Solar Battery
200W Monocrystalline Solar Panel
Includes a 210W monocrystalline solar panel, ideal for caravans and installations with an MPPT charge controller. Composed of 52 high-efficiency PERC monocrystalline half-cells, it offers a 20.7% efficiency. It weighs 10 kg and measures 1375 x 765 x 30 mm, making it an excellent option for campers, caravans, or off-grid homes.
Victron Smart Solar 100V 15A MPPT Controller
Charge controller with a maximum current of 15A and voltage up to 100V. Its MPPT technology allows for ultra-fast tracking of the maximum power point, optimizing charging even in partially cloudy conditions. It includes internal Bluetooth for monitoring and configuring the system from a phone, tablet, or PC using the Victron app.
Numax Solar 100Ah 12V AGM Solar Camper Battery
Maintenance-free sealed AGM battery designed for photovoltaic installations in caravans and campers. Its dimensions (350 x 167 x 176 mm) allow for optimal installation under the camper seat, optimizing space. It's a reliable battery that guarantees stable and safe power on any trip.
6mm² CPR 1500V Solar Cable, 10m Black
Flexible, halogen-free power cable designed for electrical installations in demanding environments.
6mm² CPR 1500V Solar Cable, 10m Red
Similar to the black model, designed to ensure secure connections in electrical installations.
6mm Eye Cable Terminal - 8mm Eye Cable Terminal
Allows you to crimp 6mm² cables and connect them to the battery using an 8mm diameter screw.
7-Piece Holder for ABS Solar Panels for Caravans with Cable Grommets
Its design raises the solar panel a few centimeters from the caravan roof, promoting ventilation and preventing overheating that could affect performance.
Adhesive for ABS Mounts and Cable Grommets
MS Extreme Tack industrial adhesive from the Fischer range, 300 kg/m², offers instant adhesion and extreme adhesion. Suitable for use in wet and weather conditions. Solvent-free. 300% elastic. Color: White.
MC4 Connectors
Recommended connectors for easy solar panel installation without the need for specialized tools. Compatible with standard MC4 connectors on solar panels.
Camper Solar Kit Installation Guide for a Camper Van
With this solar kit, you can generate and store energy to power devices in your camper van. Installation is simple and doesn't require advanced electrical knowledge. Below, we explain how to do it step by step.
Materials Included in the Kit
- 1 12V 210W solar module
- 1 Victron 100/15 MPPT regulator
- 1 pair of MC4 connectors
- ABS bracket with grommet to secure the panel to the vehicle's roof
- Adhesive to secure the ABS bracket
- 6mm² red and black solar cable
- 100Ah 12V AGM battery
- Eyelet terminals for the battery
Installation Steps
1. Fixing the Solar Panel to the Roof
- Clean the surface of the van's roof where the solar panel will be mounted. Make sure it's free of dust and grease for better adhesion.
- Place the ABS brackets on the corners of the panel and use the special adhesive to fix them to the roof.
- Let the adhesive dry for the time recommended in the instructions before continuing.
- Run the cables through the grommet included in the ABS bracket, ensuring a clean and airtight installation.
2. Connecting the Solar Panel to the Charge Controller
- Install the MC4 connectors on the ends of the red (+) and black (-) solar cables coming out of the panel.
- Connect the red (+) cable from the solar panel to the positive input terminal of the MPPT controller.
- Connect the black (-) cable from the solar panel to the negative input terminal of the MPPT controller.
3. Connecting the Charge Controller to the AGM Battery
- Connect the 6mm² red (+) cable from the MPPT controller output to the positive (+) terminal of the AGM battery.
- Connect the 6mm² black (-) cable from the MPPT controller output to the negative (-) terminal of the AGM battery.
- Use the lug and socket terminals to properly secure the cables to the battery, ensuring a firm and secure connection.
IMPORTANT: Always connect the battery to the controller first before connecting the solar panel to avoid damage to the equipment.
4. Configuration and Testing
- Check the connections and make sure everything is secure.
- Activate the MPPT controller, which will automatically begin managing the battery charge.
- Download the VictronConnect app on your mobile phone or tablet and connect via Bluetooth to monitor and configure the MPPT controller parameters.
5. Ready to Use!
Once installed, you can harness solar energy to charge devices and power lights, coolers, water pumps, and more in your camper.
Additional Tips
- ✅ Secure the cables with cable ties or cable ties to prevent vibrations or damage while driving.
- ✅ Periodically check the connections and the status of the system to ensure it's working properly.
- ✅ If you need more autonomy, you can add another AGM battery or upgrade to a lithium battery in the future.
With this Solar Camper Kit, you'll have autonomous energy without relying on electrical outlets and enjoy greater freedom on your travels. Now all that's left to do is hit the road and harness the sun's power! ☀🚐🔋
KIT200-100A
No hay ficha técnica disponible.
Tap to zoom